1.1. Fixing Random window errors in EMS
Occasionally you will run into some strange window positioning errors in the desktop version of EMS. Examples would be pop-up windows appearing off screen, windows expanded so large that you cannot access buttons, etc. The catch-all fix for these errors is very simple.
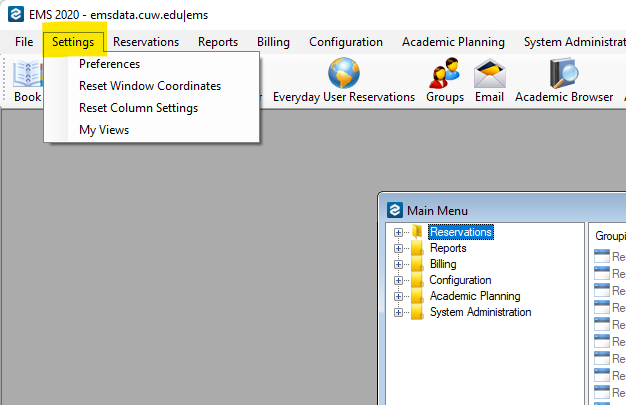
- In EMS click "Settings"
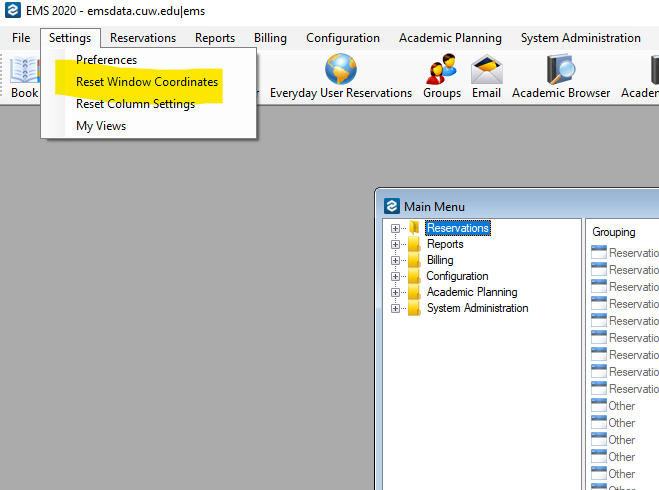
- Then click "Reset Window Coordinates"
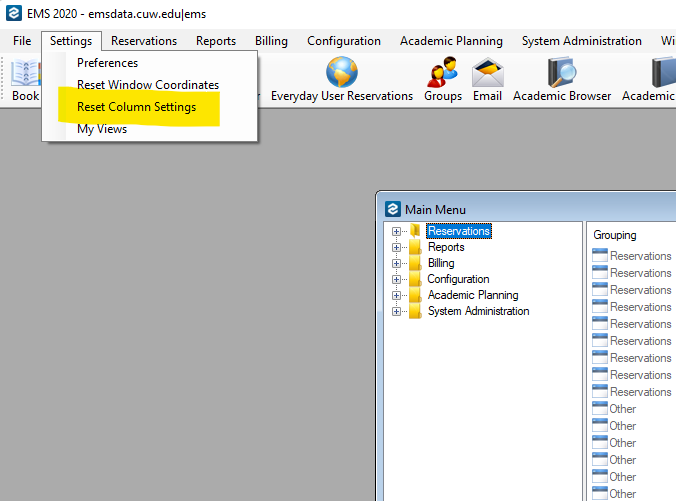
- Repeat step 1 and then click "Reset Column Settings"
- Finally close EMS and wait about 5 seconds. Re-open EMS and the issues should be resolved.
1.2. How to Print Room Cards
To print room cards for your building follow these steps:
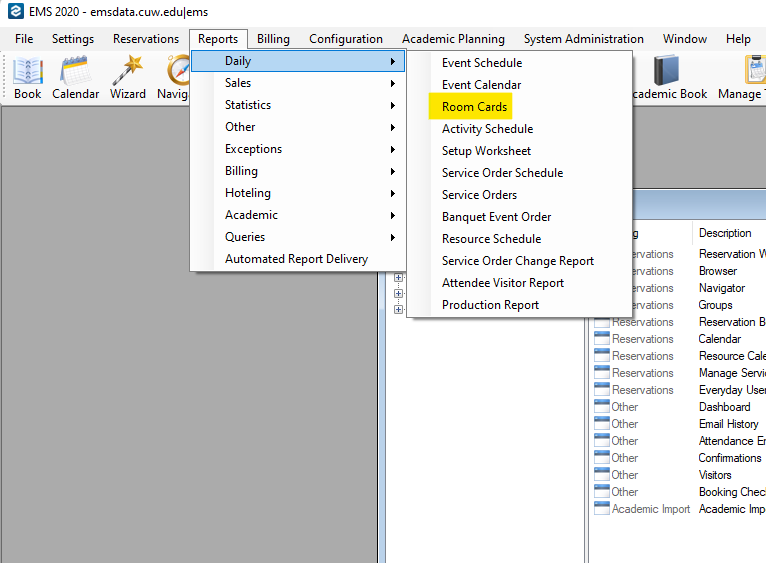
- In EMS click the "Reports" menu
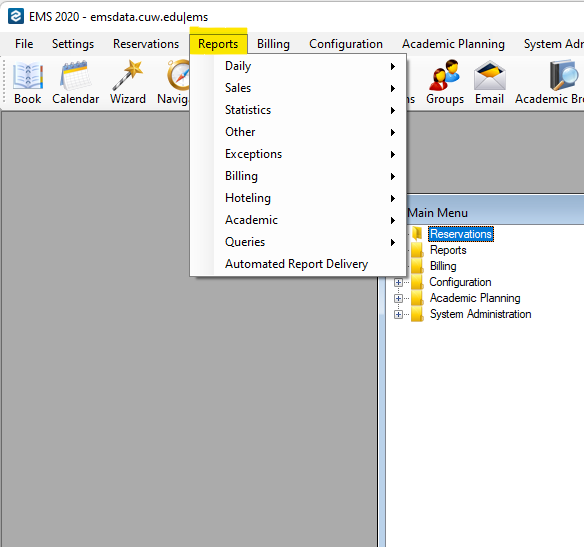
- Then click the "Daily" menu
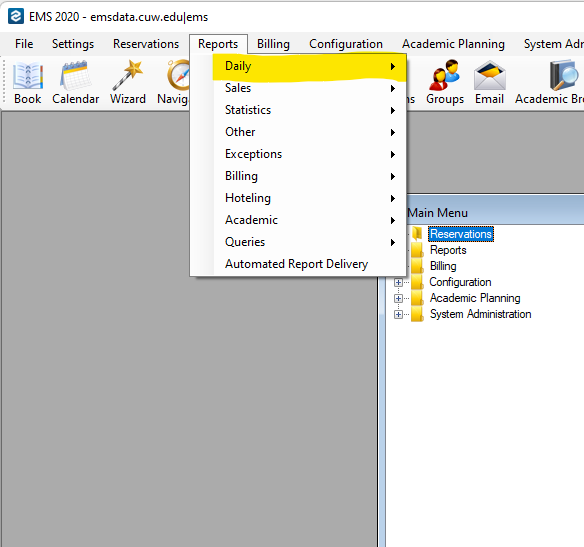
- Then click "Room Cards"
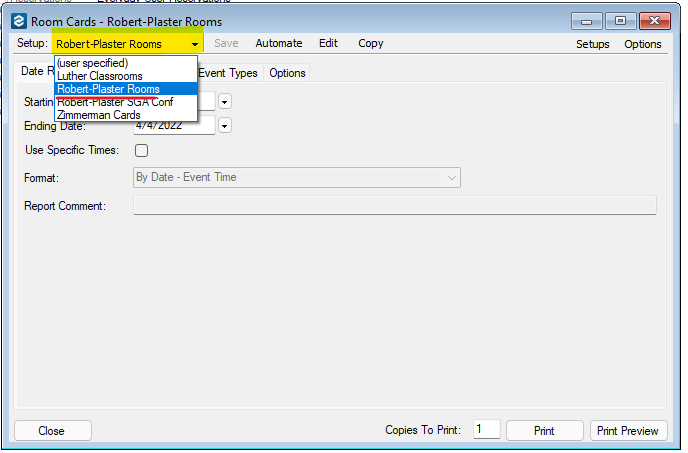
- Select your starting and ending dates and whether you want specific times. Modify the Format and Comment sections if you like. Next click the "Buildings" tab.
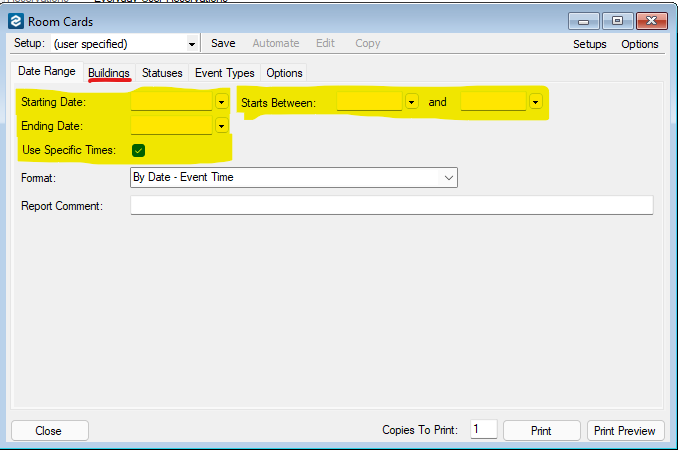
- Select your building and move it to the right-hand column using the buttons in the middle. Then select the "Statuses" tab.
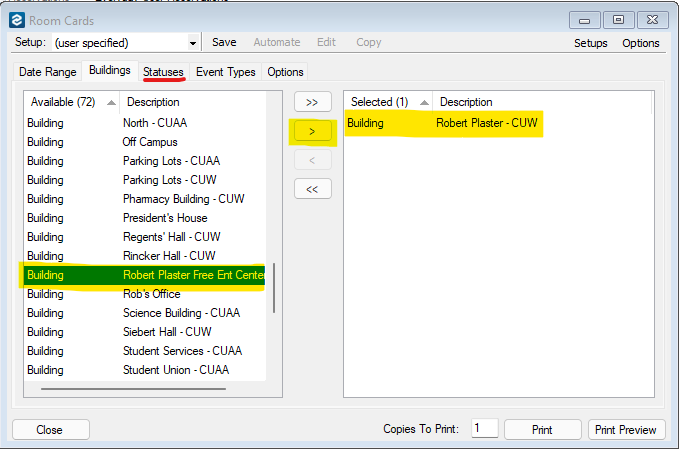
- Move all available statuses to the right-hand column using the double-arrow button in the middle. Then select the "Event Types" tab.

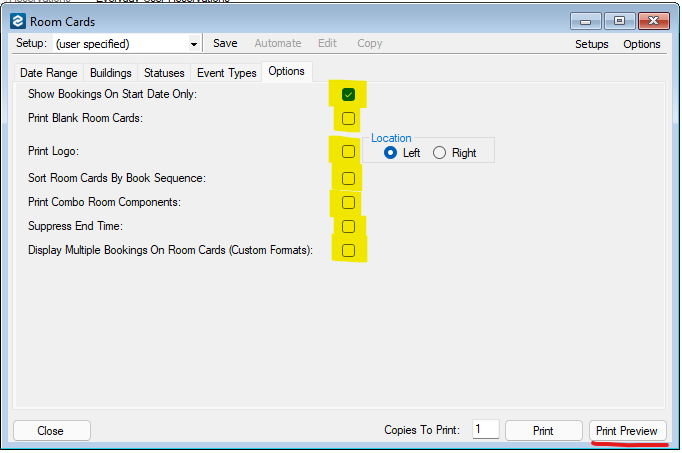
- Move all event types to the right-hand column using the double arrow button in the middle. Then select the "Options" tab.

- Check the boxes for the options you would like to see. When finished, click the "Print Preview" button.
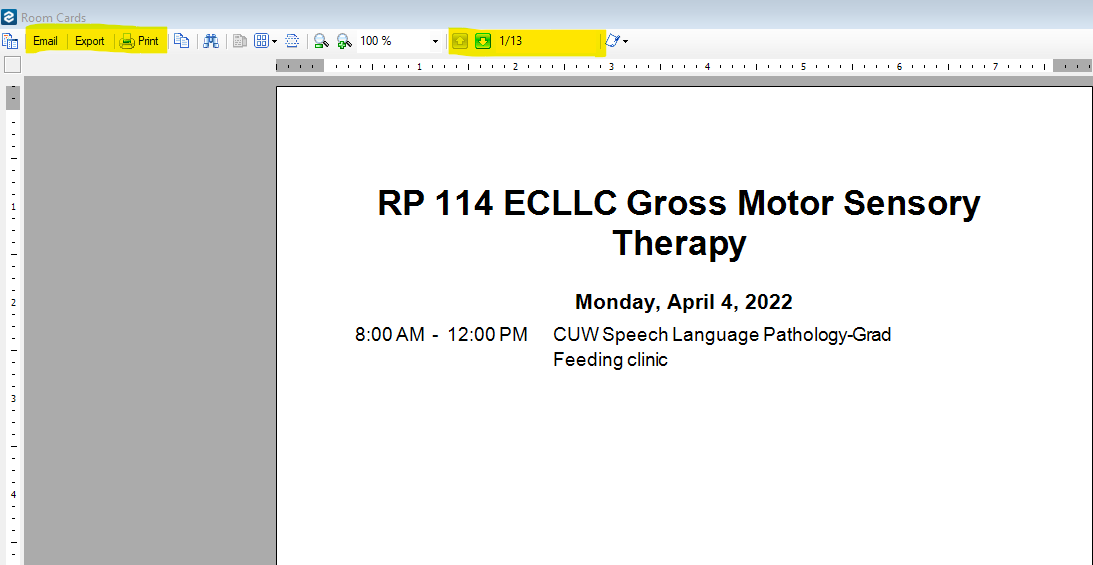
- In the following window your room cards will be displayed. Unless you specified otherwise, there will be one room per page. You can navigate them using the highlighted buttons. If the cards display the information you want, you can print, export, or email them using the buttons at the top. After you have finished, close this window to go back to the room card configuration.
- After confirming that the cards are giving you the correct information, let's save this configuration so that you don't have to change the settings every time. At the top of the window, click the "Save" button.
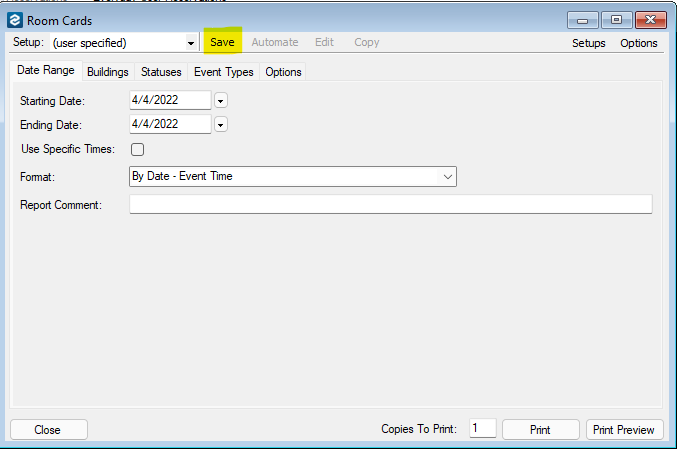
- Give your room card report a name and then click OK. (do not make it available to all users).

- Now all you need to do is follow steps 1 - 3 and then select your setup. Then you click "Print Preview" (Always use the preview button just in case you need to make changes).
1.3. Installing the EMS Desktop Application for Windows
EMS Desktop Install (12/24)
- Download the EMS Desktop Installer and .cfg file from the following link:
- EMS Desktop Client Installation Instructions

-
- When you click the link to download, you will download two files. One is the application installer, and the other is a .cfg file. The browser will warn you about this file. It is fine. Click the ellipsis (“…”) and select “Keep”

-
- Next Click “Open File” on the EMSApplication download. As long as you’ve kept the .cfg file, EMS will install and automatically open.

1.4. How to Check Room Availability in EMS
Purpose
This article explains how faculty and staff can check room availability using the Event Management System (EMS). Following these steps allows you to confirm whether a room is already reserved or available for a specific date and time.
Step-by-Step Instructions
1. Access the EMS Website
- Open a web browser and go to:
https://ems.cuw.edu/emswebapp/
- Alternatively, access EMS through the CUW Portal:
- Open the Employee Links dropdown
- Select EMS Room Reservation System
2. Log In to EMS
- Sign in using your CUW employee account
- Once logged in, you will see the CUWAA Event Management System (EMS) home screen

3. Open the Locations View
- From the left-hand navigation menu, select Locations
- This opens the Browse Locations screen, where room availability can be viewed by date and time
4. Select Date and Room
- Use the Date selector to choose the day you want to check
- In the Search field, type the room name or room number (for example, Luther Lounge)
- Click Search

5. Review Room Availability
- The selected room will appear in the results grid
- Availability is shown visually by time blocks
Color Indicators
- White: Room is available
- Blue: Room is already reserved
If the time you need is covered by a blue bar, the room is unavailable during that period. If the time remains white, the room is available.

Tips and Notes
- Always confirm the correct campus and room name when searching
- Availability is displayed in Central Time
- If multiple rooms match your search, scroll down to review each result
- This view is for checking availability only; it does not create or modify reservations
5.1. Add a Shared Folder to Your OneDrive
OneDrive – Add a Shared Folder to “My Files” and the OneDrive Application
After a folder has been shared with you, it will appear in the Online version of OneDrive, but not in the local version in the File Explorer. Follow the steps below to add a shared folder to your local OneDrive Application.
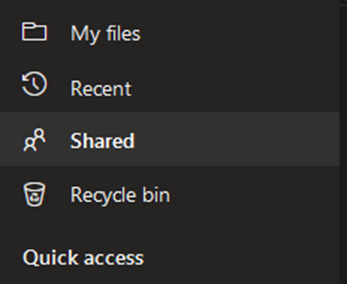
- Sign into OneDrive Online at: https://onedrive.live.com. Select the “Shared” tab on the left side of the screen.
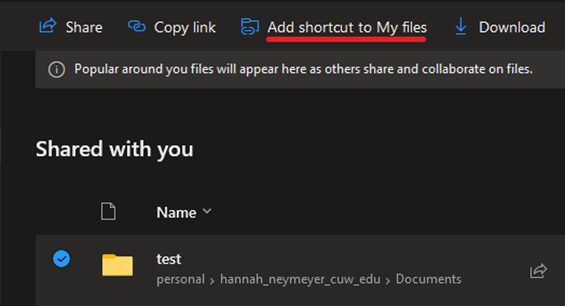
- Click on the desired folder and select “Add shortcut to my files.”
- A notification will appear at the top-right of the screen once it has been added.
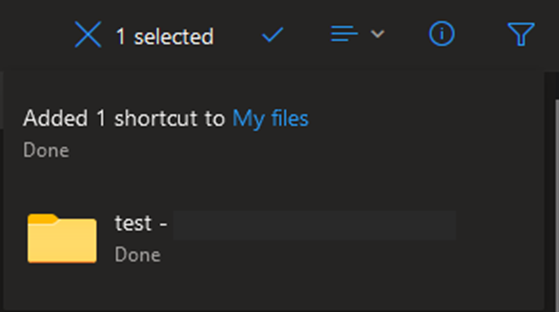
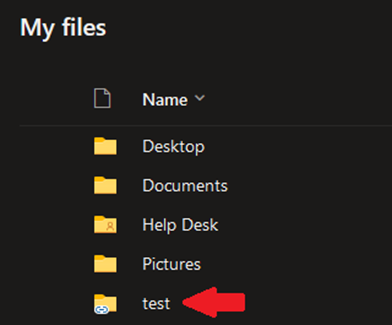
4. The selected folder will now show up in “My Files” in the Online version of OneDrive as well as under OneDrive in your File Explorer.

5.2. Add a File or Folder to Quick Access
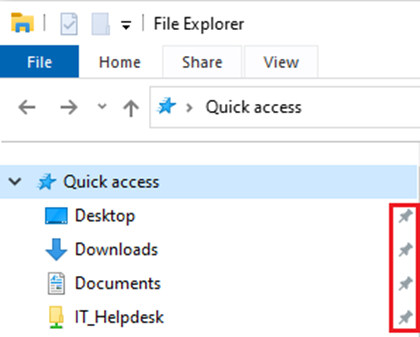
There may be folder saved in your OneDrive account that you frequently access. If this is the case, follow these steps to add these items to your quick access bar. You can tell if an item is pinned to Quick Access if there is a pin icon to the right of it.
- Open your File Explorer by either:
- clicking on the following icon at the bottom of your taskbar:

- Typing in ‘File Explorer’ in the Windows Search bar and selecting the File explorer app.
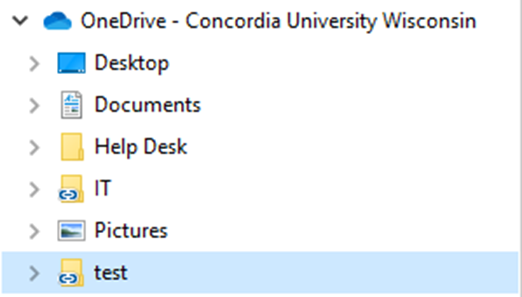
- Navigate to the desired folder under ‘OneDrive – Concordia University Wisconsin’ and right click it to bring up a drop-down menu.
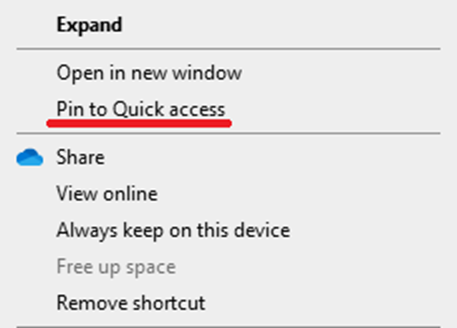
- Select ‘Pin to Quick Access.’
- You will now see the selected folder listed under Quick Access.

5.3. OneDrive Permissions Icons
 Anyone with the link: Anyone that you send this link to will have the permissions that you set AND can forward the link on giving other users the same permissions If you are sharing a folder, anyone you send the link to will have the permissions that you set AND will be able to forward the link on giving other users the same permissions.
 People in Concordia University Wisconsin with the link: Anyone that you send the link to will have the permissions that you set providing that they have an @cuw.edu or @cuaa.edu email address.
 People with existing access: This setting is if you are generating a new share link for a document that you have already shared. Anyone with previous access will receive the new permission you are setting.
 Specific People: Email addresses that you specify will receive the permissions that you set.
5.4. Sharing Files with OneDrive Online
OneDrive – Sharing with OneDrive Online
OneDrive has numerous ways to allow you to share files with other users, this tutorial will cover the OneDrive website method.
To do the following steps, log into onedrive.com with your CUWAA email/Password OR right clicking on OneDrive in File Explorer and selecting the “View online” option.
Part 1 - Sharing Files
- Navigate to the file you want to share and click the 3 vertical dots that appear when you hover over it. Click the Share option.
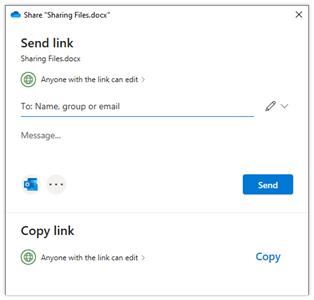
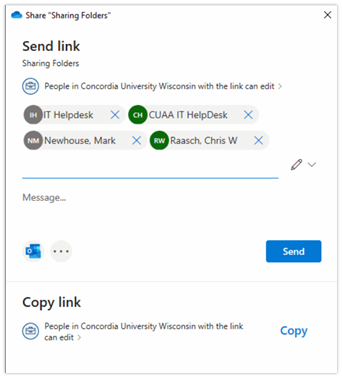
- You will be met with the following menu. The first option it comes up with is the “Send link” option.
-
Note: For security reasons, it is highly recommended you do not use the link option. Anyone who gains access to the link and see the file(s) you share with it. See step 3 for best practice.
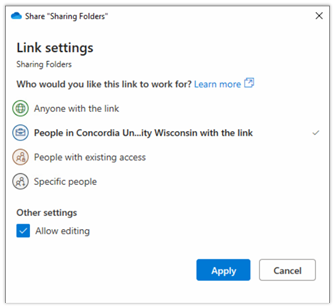
- Click on the first Anyone with the link can edit, then select the blue briefcase/“People in Concordia…” option. By default, it has “Allow editing” check marked. If you don’t want them to edit, uncheck that box.
- Click Apply, it will continue with who you would like to sharing it with. Enter their name(s), it will search our CUWAA system for the names of your co-workers. You can add as many people as you would like here.
- Share the file.
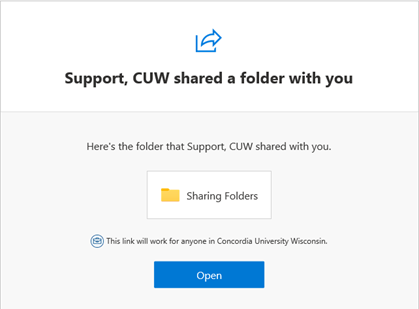
- Hitting send this box to share it with an automated OneDrive email:
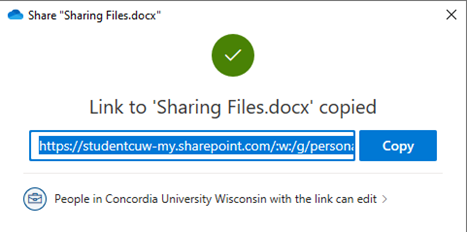
- Copying the link will give you a custom link that only the specific people you shared with can access. You can use this to link to paste it in your one customized email.
Part 2 - Sharing Folders
Sharing Files covers the exact same steps. Folders will allow you to add/remove files with out the other users losing access to the folder.
- Navigate to the file you want to share and click the 3 vertical dots that appear when you hover over it. Click the Share option.
- Change it to the blue briefcase/”People in Concordia…” option.
- Remember, “Anyone with the link” gives access to non-CUWAA people. It’s safest to select the Concordia option.
- Review the Editing checkmark, check/uncheck how you wish.
- Enter the name(s) who you would like to share it with.
- Click “Send” for the automated OneDrive email or Copy if you wish to write up your own email.
5.5. Setting Share Permissions on Files and Folders

Share permissions consist of the following:
Allow/Disallow Editing: Checking/Unchecking this box will allow or prevent people you share your document from editing the contents of your document. When applied to a folder, the setting applies to all documents and folders within that folder.
Set expiration date: Setting this date will remove the share when the target date is reached
Set password: Allows you to password protect a document or folder
Block download: This option is only available it you have unchecked the "Allow editing" box. This will prevent users from downloading or printing your document. If applied to a folder the setting applies to all documents and folders within that folder.
5.6. OneDrive Status Symbols
OneDrive – Status Symbols
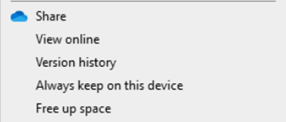
Blue cloud icon

This means the file/folder is available online. You can only open the file when you have an internet connection.
Green Checkmark

This file/folder is downloaded locally. You will see this on files you have opened on your PC before. You can open it without an internet connection.
Solid Green Checkmark

This file/folder is downloaded locally and you have instructed your PC to “Always keep on this device.” You can open it without an internet connection.
Any icon with a silhouette (person) icon

This file/folder has been shared with someone.
Blue Sync Icon

This file/folder is pending a sync. If it is actively rotating, a sync is currently happening.
Red X Icon on the OneDrive App


OneDrive has a problem with Syncing Files/Folders. The OneDrive app will guide you through fixing the files it has problems with.
For further explanation of the Microsoft OneDrive iconography, visit the following link:
https://support.microsoft.com/en-us/office/what-do-the-onedrive-icons-mean-11143026-8000-44f8-aaa9-67c985aa49b3
5.7. Viewing your Documents in OneDrive
For documents saved in OneDrive if you open them from the file explorer version they will open as normal. However, if you are using the web version there are a few different ways to view the document.
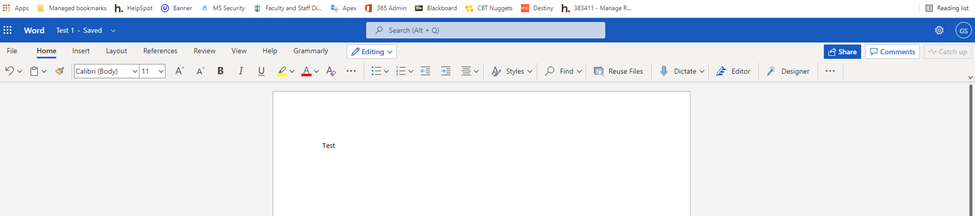
The First viewing method is a web-based version of office programs. When clicking on the document you wish to open a new window will open.
This new window will bring the document up inside of a simplified version of one of the office programs. Shown below is a document pulled up in the web version of Microsoft Word.
The second is to open the document in the Microsoft program installed on your computer. There are two ways to open the document normally.
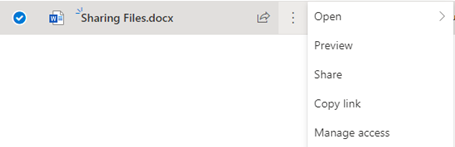
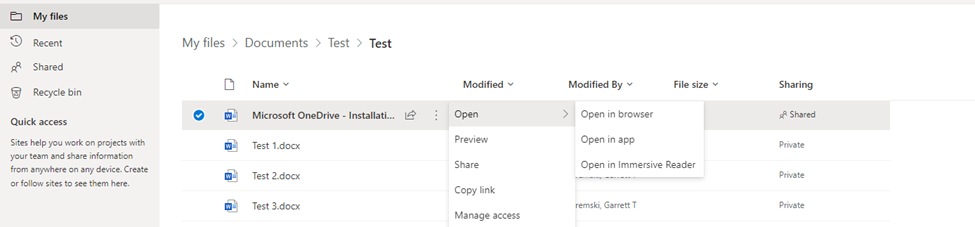
The first option is select the document you wish to open and click on the icon made of three vertical dots. It will look like the following image: 
Then select the option called Open. Inside of open there will be an option call “Open in app”. That option will open the document as normal.
The second way is to download the document and then open the downloaded document as normal. As shown in the image below.

5.8. OneDrive Lunch n Learn Powerpoint
6.1. Add an unknown computer to SCCM devices
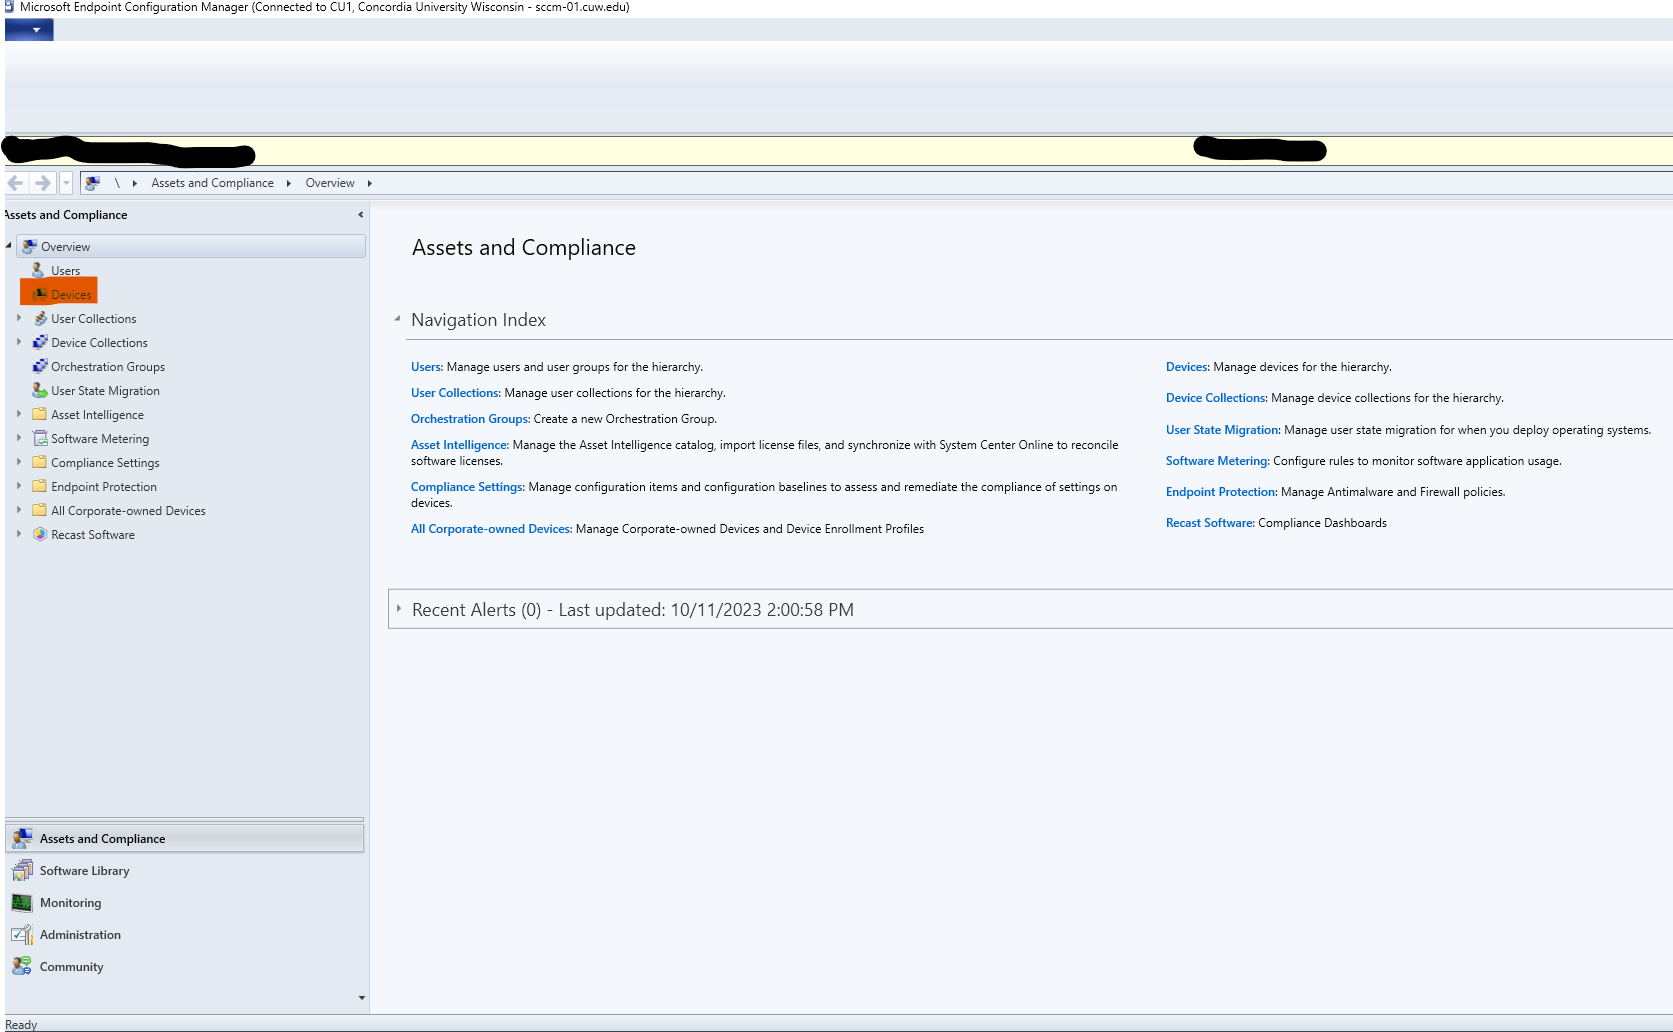
1. Open the SCCM Console (If you don't have this installed, contact Justin Cross) then click "Devices."
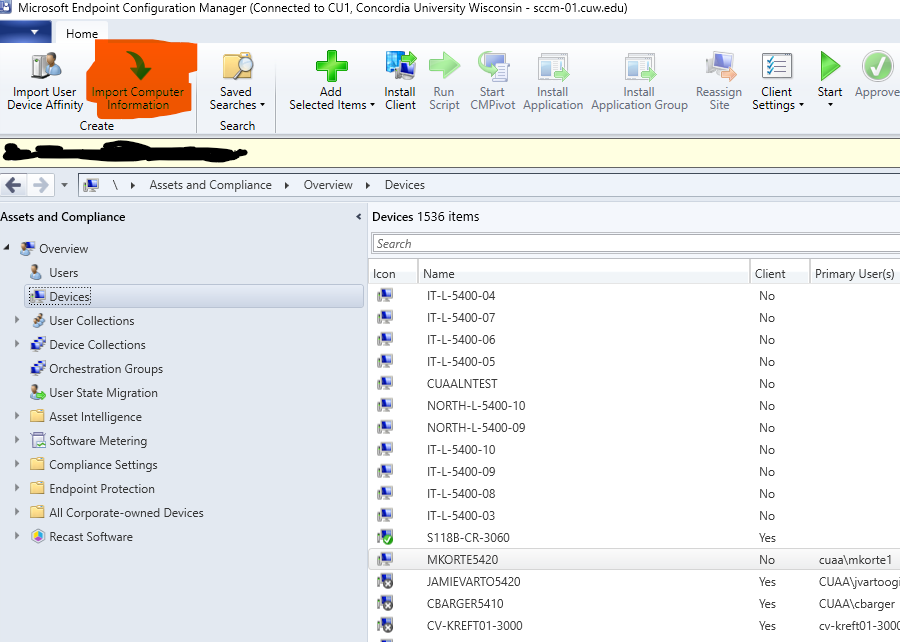
2. Click on "Import Computer Information" in the ribbon at the top of the screen.
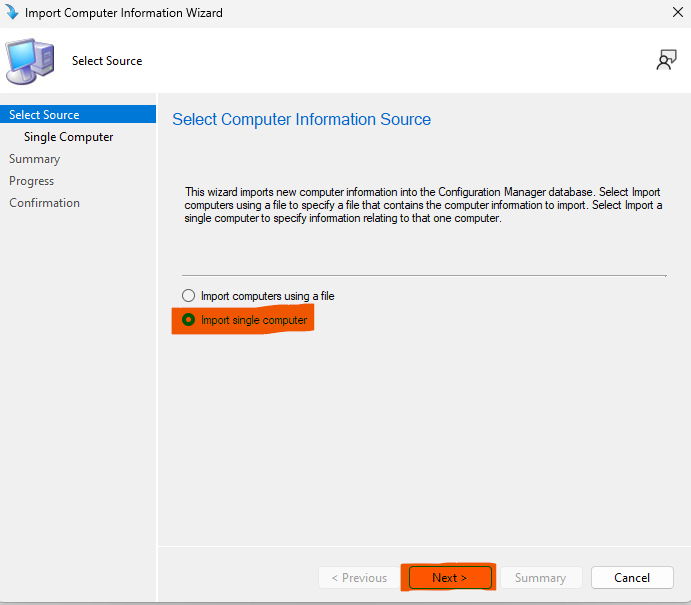
3. Select "Import single computer" and click next.
4. Enter the "Computer name" and the "MAC address" (NOTE: You will find the MAC address in the BIOS of the computer under System Information. You want to use the "Passthrough MAC address" if you are connecting the computer to a dock or USB-C network adapter. If you are connecting to the on-board network card you want to use the "LOM MAC address"). You do not need to fill in the "SMBIOS GUID" field or the "Source computer" field. Then click next.
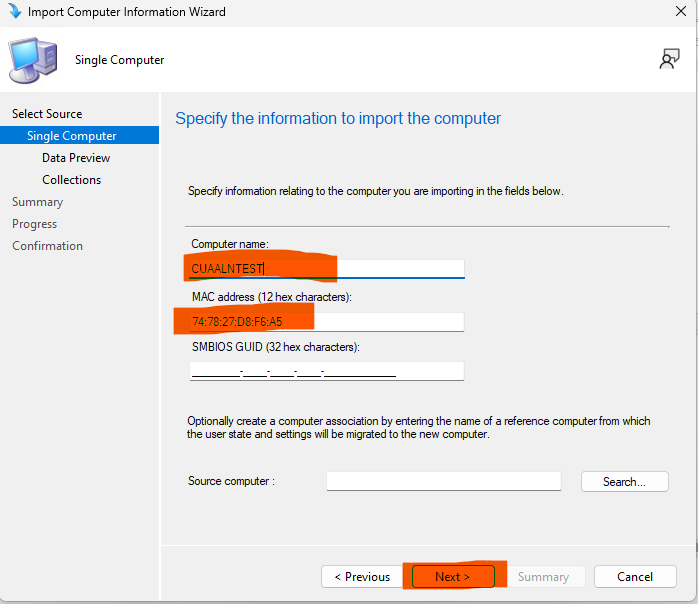
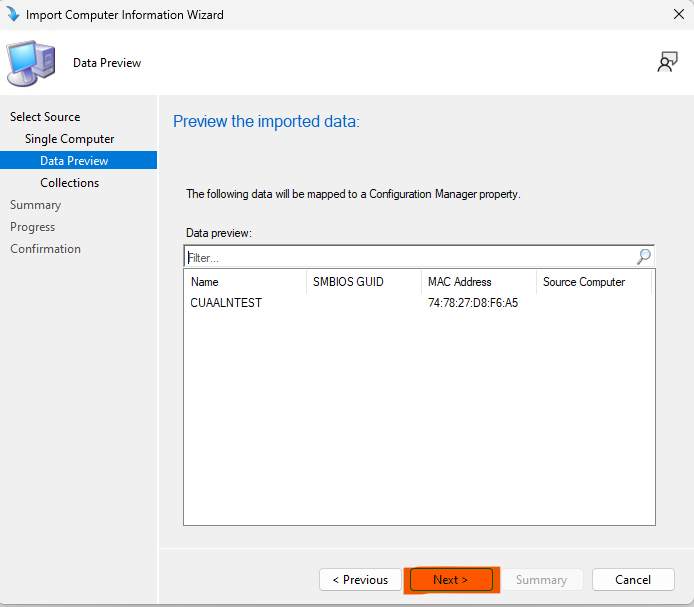
5. Confirm the information is correct and then click next.
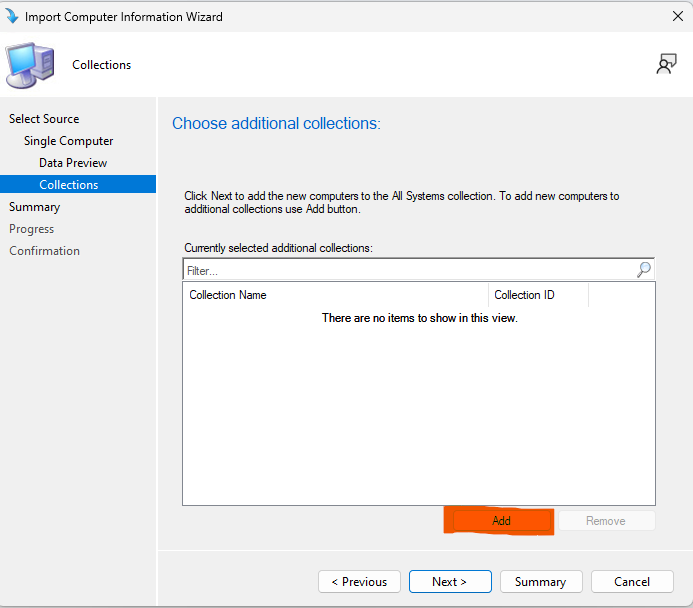
6. If you need to add your new device to a collection, do so here by clicking the Add button. If you do not, click next to skip this step.
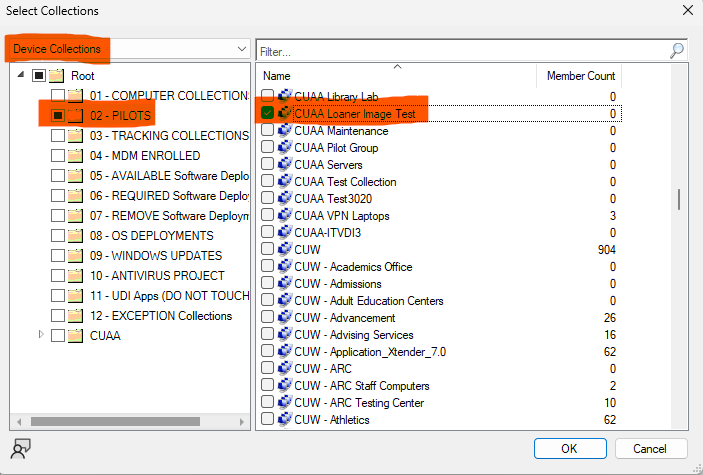
6. Find the collection you want to add and select the checkbox. Select the parent folder on the left and checkmark a collection on the right. Then click OK. Then click next on the collections page.
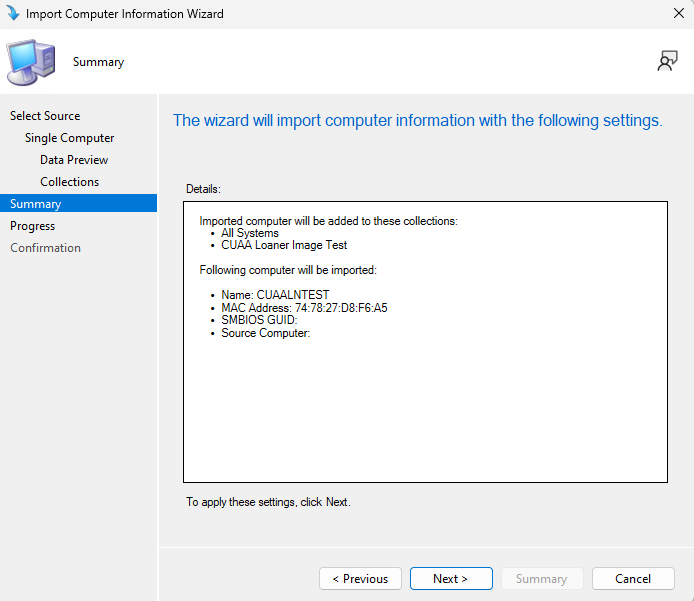
7. Click next after confirming your settings on the Summary page.
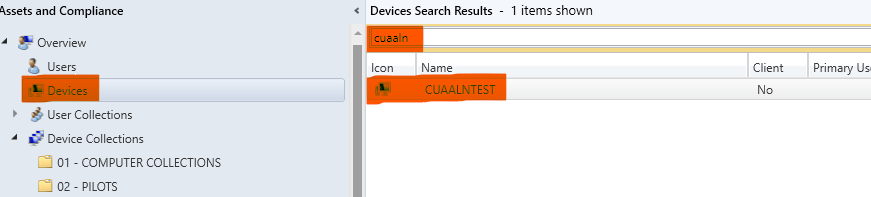
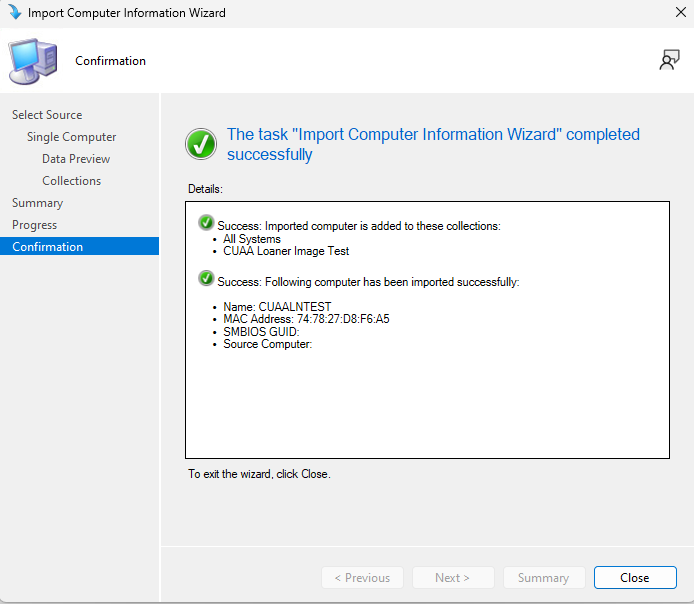
8. Click close on the Confirmation window.
9. Do a search in Devices and confirm your device is now in the system.